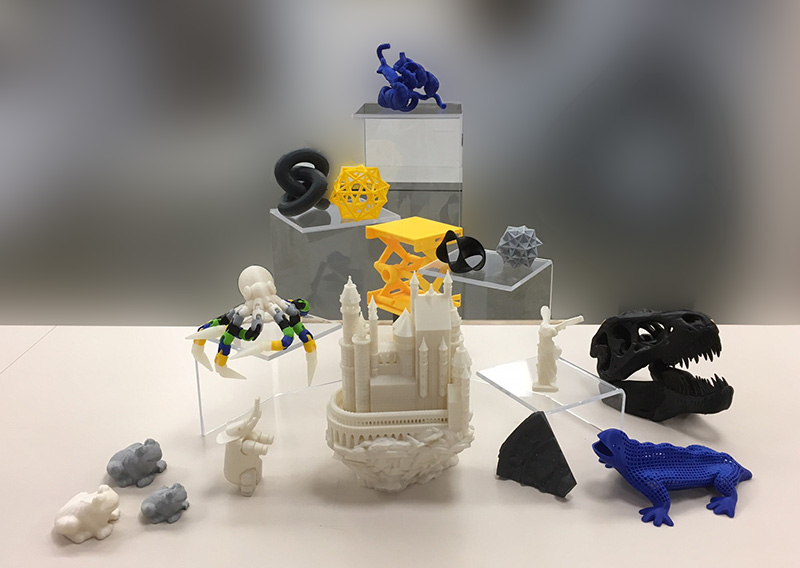
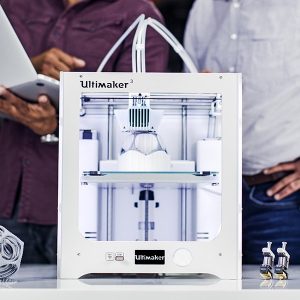
 You may have noticed some interesting new items at the Instructional Design & Technology Desk. There has always been the poster prints, DSLR Cameras and even 4K digital cinema cameras, but now it is home to a 3D printer and 3D scanner! Over the summer, Lily Zhang used a grant from the Virginia Foundation for Independent Colleges to purchase an Ultimaker 3 printer and a Matter and Form 3D scanner.

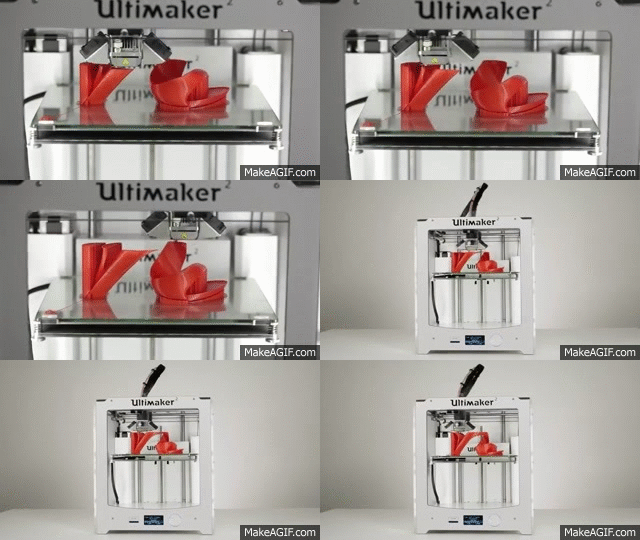
The 3D printer uses a process known as fused deposition modeling (some call it fused filament fabrication, tomāto/tomăto), where plastic filament is melted and deposited on top of previously deposited plastic. Think of it like a can of whipped cream; you can spray some onto your sundae, and if you wanted to (you do want to), you could spray another layer of whipped cream on top of what’s already there. You’re fusing the whipped cream by depositing more on top of itself. In this case, instead of delicious dairy toppings, we’re using spools of specific types of plastic filament.

There is a world of plastics available, each for a different purpose. For the time being, our printer is using ABS, acrylonitrile butadiene styrene (like LEGO!) and PLA, polylactic acid (the clear clamshell your berries come in!). ABS is strong, durable and temperature resistant but can be a little persnickety in printing. Oh, and it smells like melting plastic when it is printing. PLA, on the other hand, is really easy to print with, leaves a really nice surface finish and smells like waffles when it is printing (it’s made from things like cornstarch and sugarcane); but can deform at temperatures you’d find outdoors and just isn’t as strong as ABS. Both of these plastics serve a purpose (see a simple comparison here, a more scientific one here), and both work really well in the library’s printer.
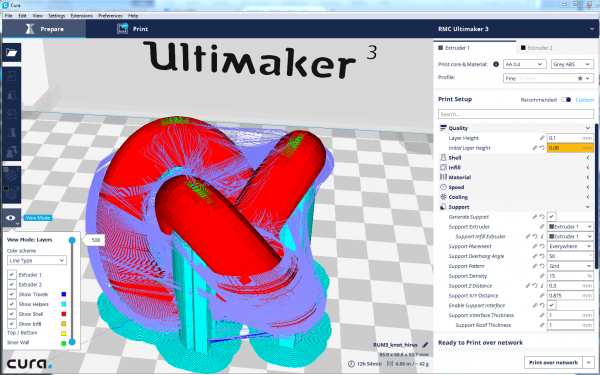
Ok, so we have the fused part and the deposition part, but that doesn’t make us a nifty print. For that the printer needs to know where to put the melting plastic. The modeling part comes from computer software. This takes a model you’ve created or downloaded and creates a path for the printer to follow, called a toolpath.
This is a toolpath rendered for us to see.
The toolpath tells the 3D printer where in 3-dimensions to move the print head and where to push out the plastic. The printer can work in a total volume of 215mm3; or roughly an eight inch cube. In that cube the printer can move as little as 12.5µ, or 0.0125mm: the hair on your head is ~80µ! This is just to say that this 3D printer can create models that are very detailed.
To breakdown the process for you, let’s say you’d like to print something for your chemistry class. You’ve found a 3D model of insulin that looks really cool. You download the associated file (usually an *.stl or *.obj) and load it into the printing software. In that software you choose how detailed and dense you’d like it to be. Does it need to be pretty rigid? Does it need to be able to bend a little? Do you want it to be 300% its normal size, or 25%? You can choose your filament based on these and other questions. The software spits out the toolpath, which you can then load into the printer. Once loaded, the printer will heat up (remember, we’re melting plastic) and begin laying down plastic. Depending on the details you’ve chosen it could take a few hours to a few days for prints to complete.
The library will be having workshops covering 3D printing in much more detail throughout the semester. For the time being, if you would like to experiment with this technology, please contact Lily Zhang or Gardner Treneman.
Here are a few places to check for already created models you may want to print:

Cool article on 3D printing! Thanks!